 When you need to get something printed, the quality and resolution matter. High resolution will positively impact your audience and show them that you’re serious about quality products. However, resolution standards vary based on what you’re printing. To help measure the resolution and make necessary adjustments, dots per inch (DPI) is used. DPI is how resolution is measured in terms of pixilation. It impacts viewing distance, clarity, and overall quality of a piece. DPI parameters often vary based on materials and where your final product will be displayed. Here, we’ll discuss what the correct DPI for printing is.
Understanding Basic Factors of DPI
DPI measures the resolution of printed material. The higher the DPI, the more densely pixilated an image will be and therefore, the sharper it will appear. A low DPI results in low resolution and can sometimes make an image appear blurry if viewed at the wrong distance. Whenever possible, or if you’re unsure of what DPI to use for your project, it’s always better to aim higher.
The Short Version – What Impact Color Needs to Print Your Job
| Small Format Documents That Are Held in Your Hand | 300 dpi |
| Posters | 100 – 150 dpi |
| Trade Show Displays | 150 – 200 dpi |
| Car Wraps | 100 – 150 dpi |
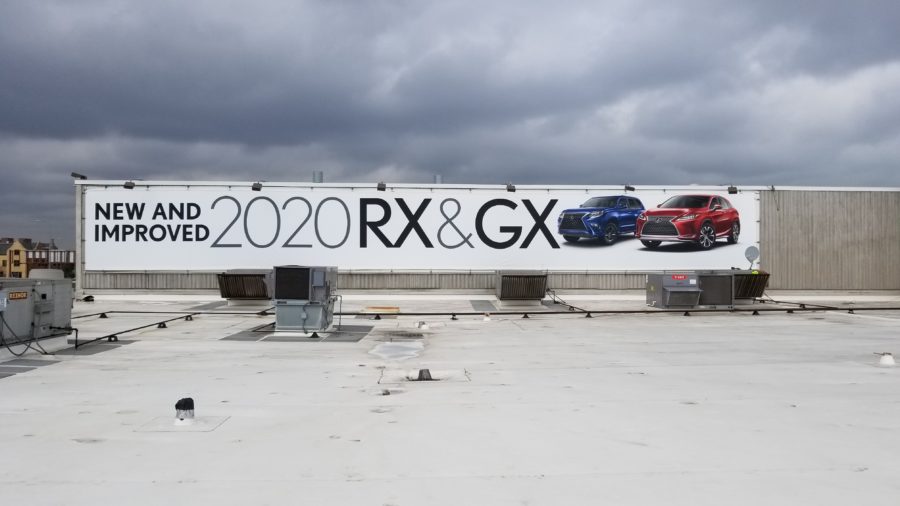
| Outdoor Banners | 75 – 100 dpi |
Important:
- DPI is at final printed size – so if your logo is 300 dpi and is 2×2”, and on your poster it’s 8×8”, that logo becomes 75 dpi – – 300 dpi divided by 8 (scaling 8X original size) – too small for your poster!
- Logo Images – your logo is your brand and is a direct reflection on you. Logos are best when they are vector files (a vector is a drawn image – raster is a picture of the logo).
- Vector files end in .ai or .eps – if you don’t have a vector version of your logo Impact Color can recreate your logo for a nominal cost.
How DPI Changes Across Printing Methods and Materials
How an image is printed—on what material and in what method—impacts the overall DPI requirements for a project. Stochastic screens produce very intricate details when compared to halftone screens, but this level of detail isn’t always necessary. If you’re not going to be able to see the difference between 300 dpi and 400 dpi, using more standardized methods is fine.
It’s also important to take the type of paper into account. Some paper bleeds more easily, while others retain color and saturation better. Using an extremely high DPI on uncoated paper can be problematic, as the color doesn’t always hold as well. Glossy or coated paper require a higher DPI, as they have the capacity to retain finer details.
How Viewing Distance Affects DPI
If you’re going to be printing material for a billboard, you won’t need to utilize as high of a DPI as if you were going to be printing a brochure or handheld product. The viewing distance has a direct impact on how much resolution you need. The farther away something is, the lower you need your DPI to be as the pixels get smaller and smaller. If you’re going to be viewing something within a 2-foot distance, 300 dpi is recommended. On the contrary, if you’re displaying a product that’s 650 feet away from the audience, sometimes a DPI as low as 1 can be used. However, as we mentioned, using too low of a DPI can cause blurriness, so it’s always better to aim a little higher to avoid low-quality resolution for your audience.
The correct DPI for printing purposes varies, but it’s one of the most important factors in producing high-quality results. You’ll never regret using a high DPI as images won’t appear pixilated. Regardless of your resolution needs, Impact Color is here to help. Our professionals will work with you to determine the best DPI for your project needs. To learn more about how Impact Color can assist you on your next printing project, contact us today.


